4.9
4.9 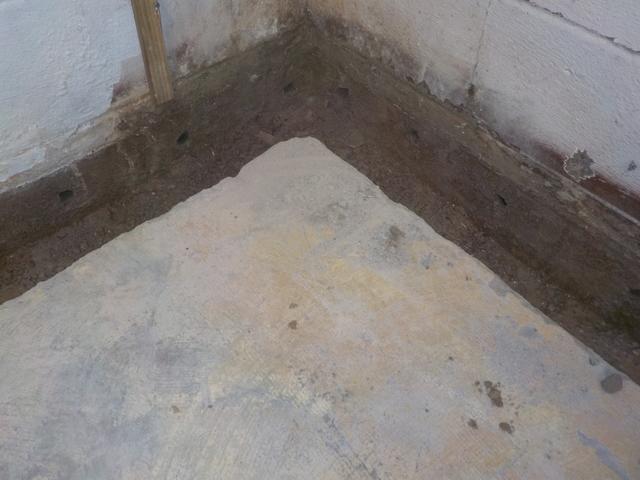
Digging the trench.
The homeowners decided to go with a full perimeter WaterGuard system. First a trench is dug where the WaterGuard will be placed.

Installing Water Guard
Next the WaterGuard is put inside this trench.
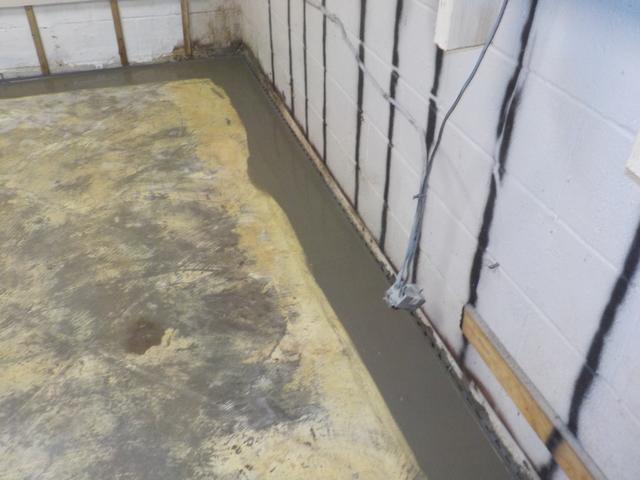
Smoothing everything out!
The final step after the WaterGuard is installed is cementing and smoothing everything out to ensure it looks the best it can for the homeowners!
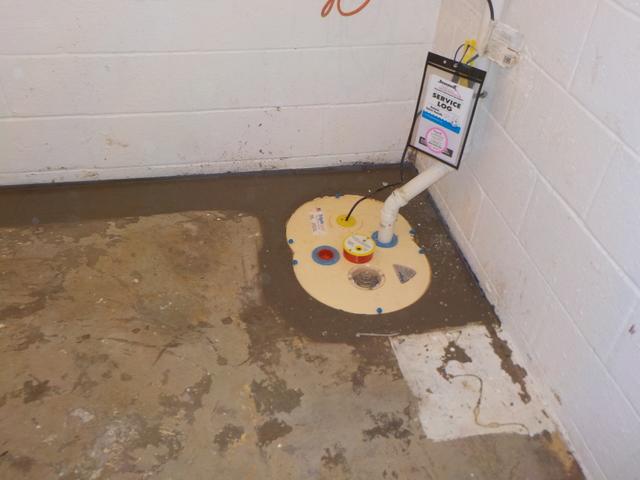
TripleSafe
A TripleSafe sump pump is also installed and that takes all the water collected by the WaterGuard out and away from the home. This ensures the water does not return.