 4.9
4.9 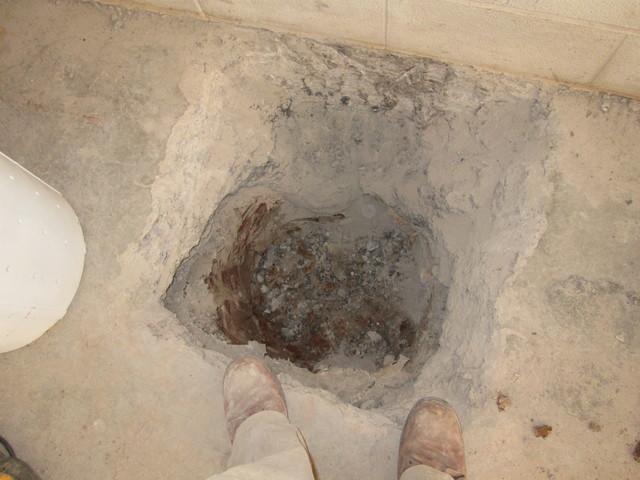
Starting the Installation
The first step is clearing out a space for the SuperSump to be installed!
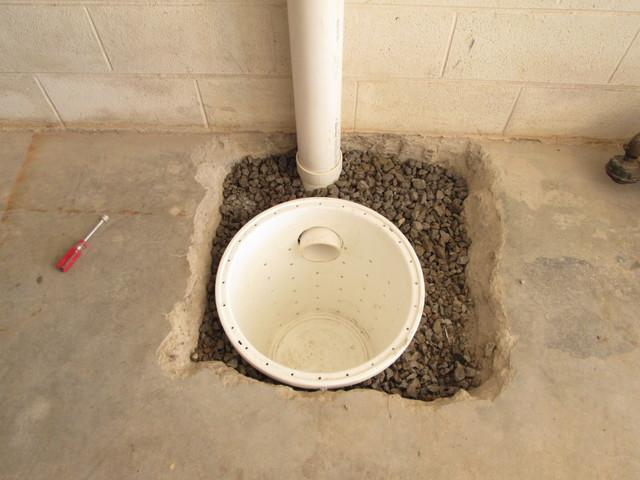
Filling the Hole
The SuperSump has been place in the hole and the extra space has been filled!
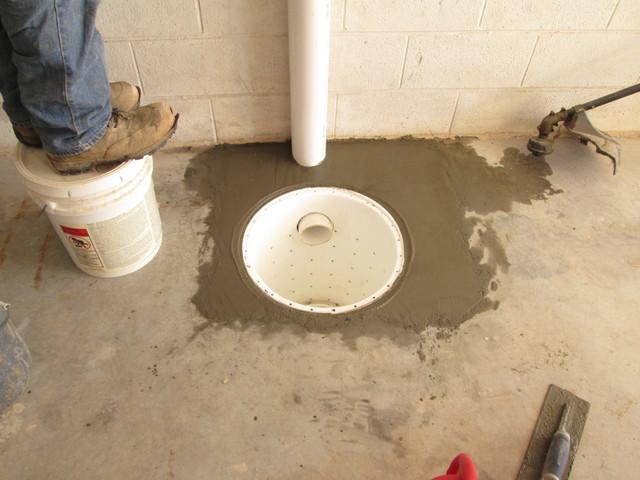
Cementing the SuperSump in place
The SuperSump is being cemented in place and installation is almost finished!
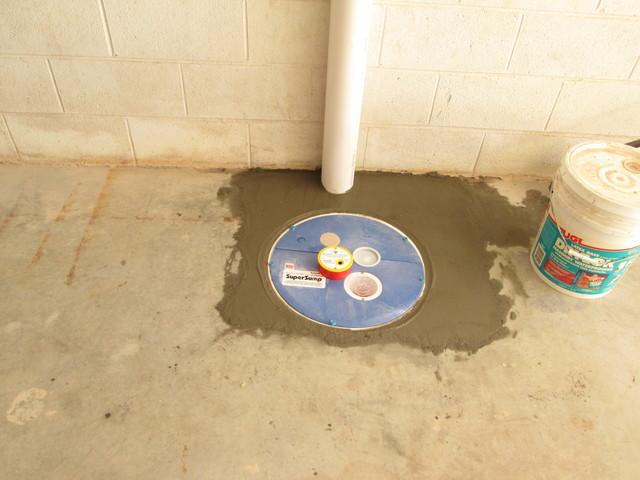
SuperSump Installed
The finishing touches have been completed and the SuperSump is installed!