Our Waterproofing Solution
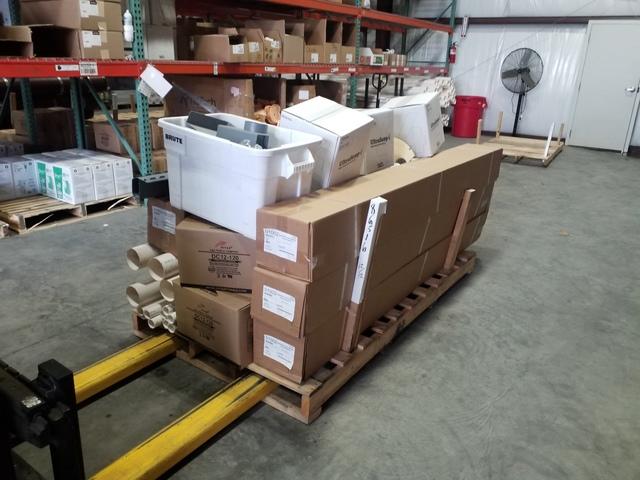
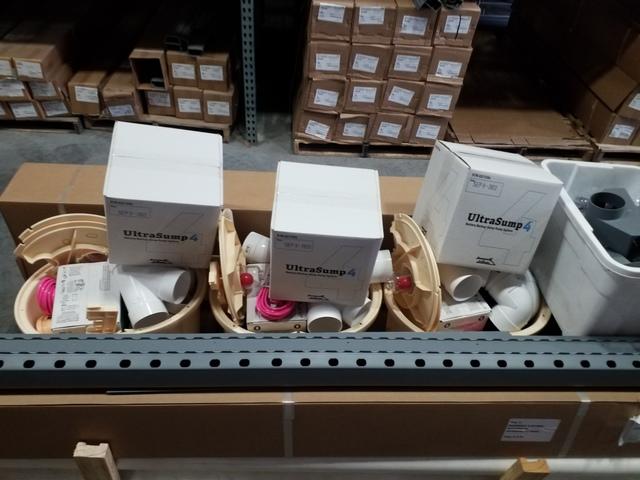
Materials for the job are ready to be loaded to the production truck!
Our Waterproofing Solution
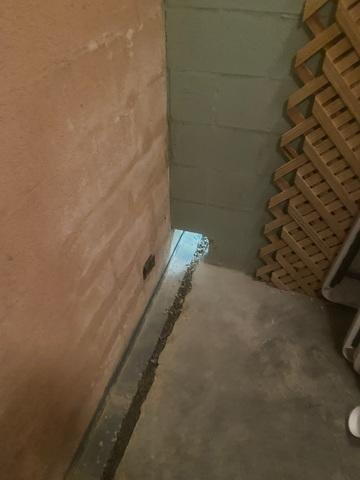
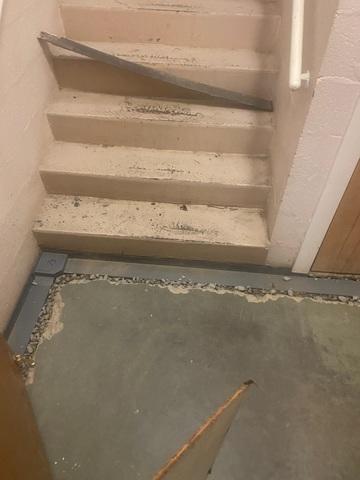
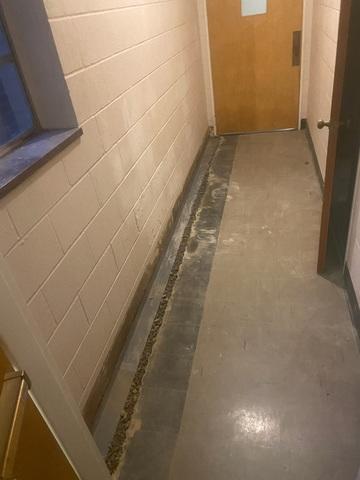
Sometimes we need to cut out a piece in a wall to be able to install our waterproofing system. This pipe collects water and leads it to the sump pump located in the next room. For best results, the WaterGuard system needs to be installed along all wall perimeters in the basement.
Our Waterproofing Solution
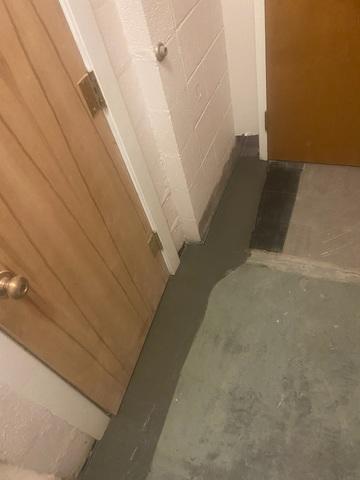
Fresh layer of concrete covers up the WaterGuard and evokes a nice, finished look.
Our Waterproofing Solution
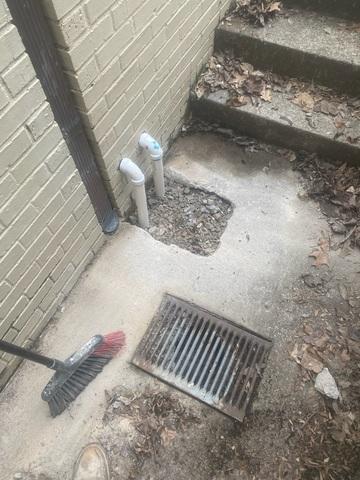
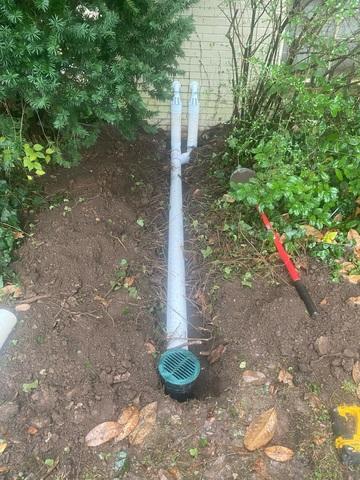
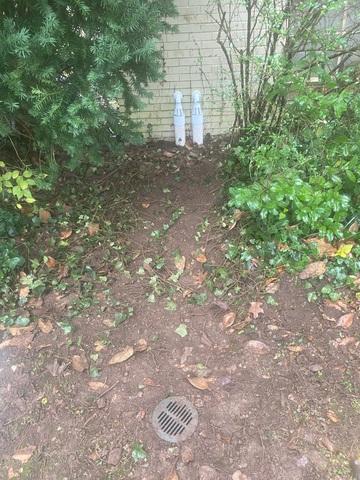
Drain lines leading from the sump pump to the outlet located 10 feet away from the house, where water escapes.
Our Waterproofing Solution
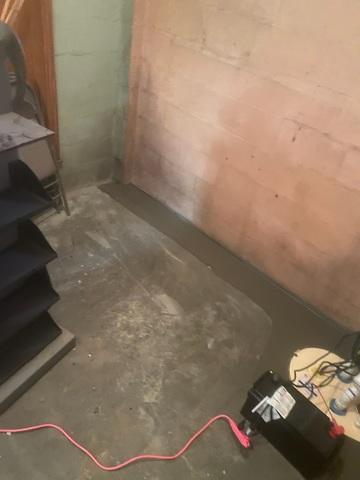
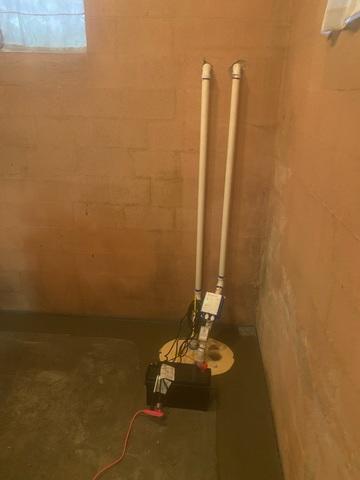
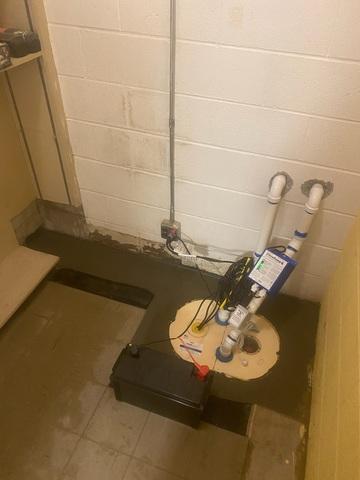
Batter back-up supports the sump pump.
Our Waterproofing Solution
Corners are where we can access the inside of the pipes in case we need to unclog them.
Our Waterproofing Solution
Outlet where water collected from the basement escapes.
Our Waterproofing Solution
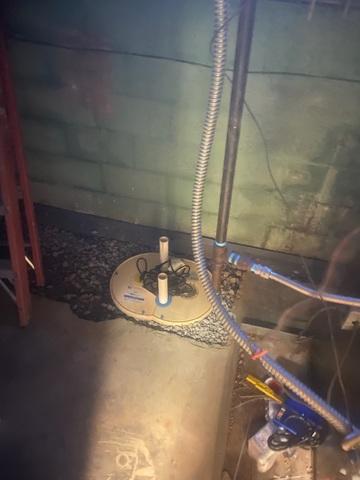
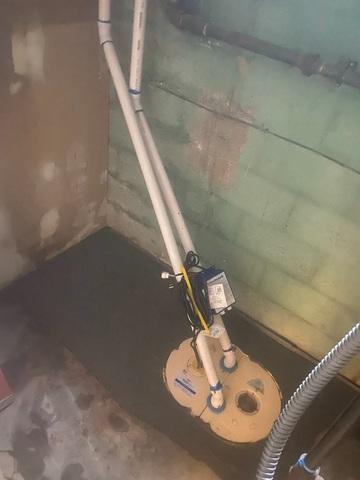
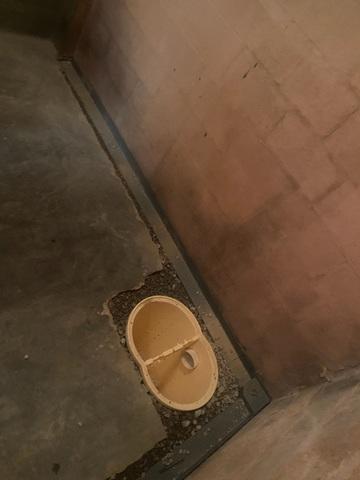
Installation of the sump pump system.
Our Waterproofing Solution
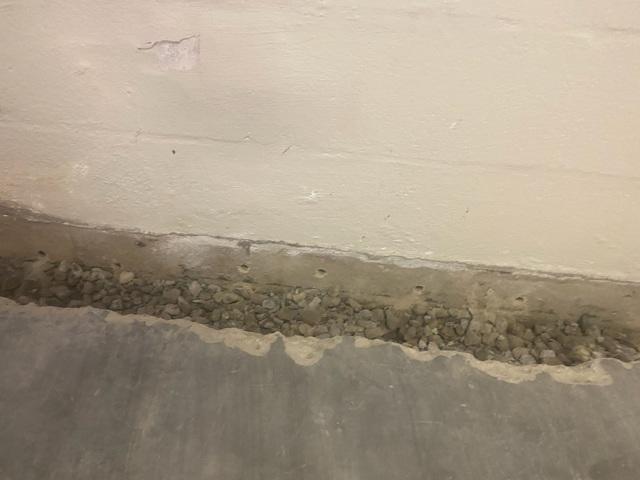
Installation of the WaterGuard System.
Our Waterproofing Solution
IceGuard (installed on the wall) helps with high volumes of water.
Our Waterproofing Solution
The TripleSafe Sump Pump collects water from the WaterGuard pipe system and shoots it out from the basement via the pipes.
Our Waterproofing Solution
Due to the gravity, water always flows downwards, so we strategically instal the sump pump to the lowest corner in the basement.
Our Waterproofing Solution
TripleSafe is the primary pump, UltraSump4 with the battery back-up helps during power outages to keep your system working.
Our Waterproofing Solution
Materials for the daily job.
Our Waterproofing Solution
Sump Pump installation.
Our Waterproofing Solution
The WaterGuard system is placed in dug up trenches and covered with gravel.
Our Waterproofing Solution
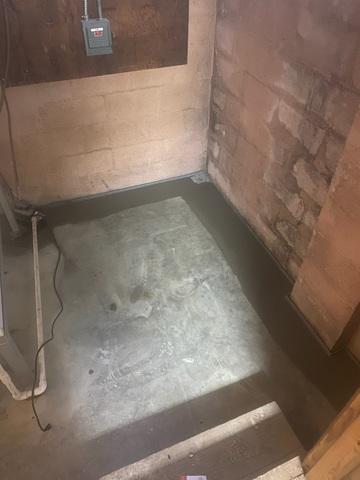
Lastly, concrete is poured on top.
Our Waterproofing Solution
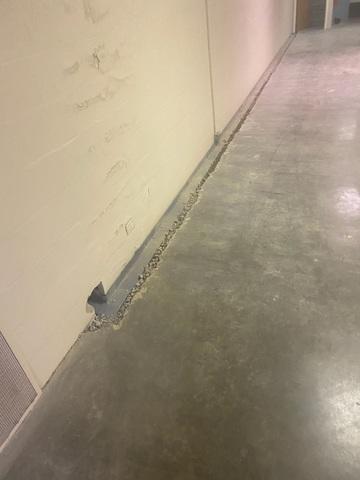
WaterGuard leading from one room to another, collecting water along the way.
 4.9
4.9