 4.9
4.9 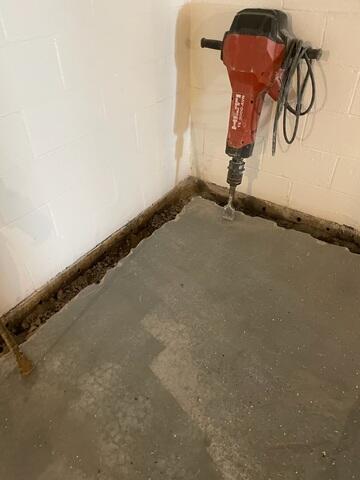
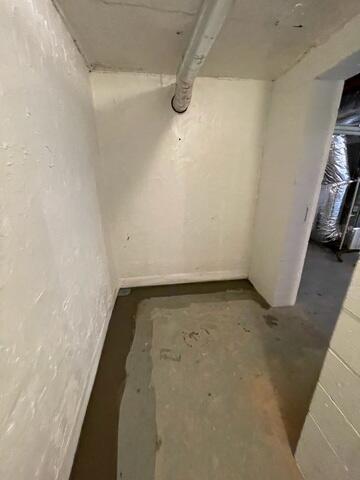
Cutting out Area for WaterGuard
Concrete is removed before the installation of the WaterGuard System
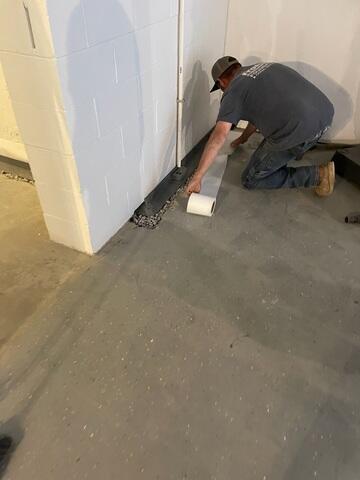
WaterGuard Installation
Crew installing the WaterGuard System
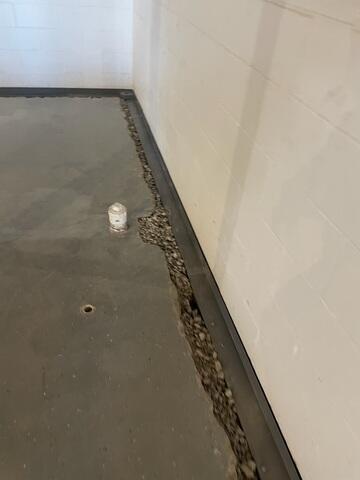
WaterGuard
WaterGuard added and gravel is added around it
WaterGuard
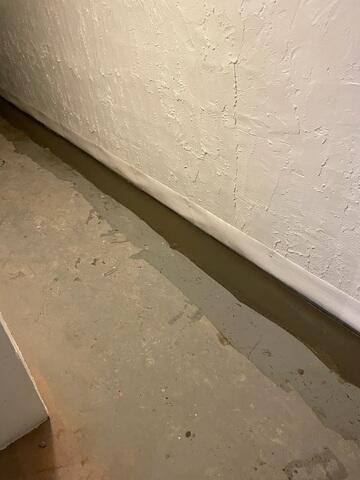
After WaterGuard is installed, it is taped and cemented over
WaterGuard Finished Install
WaterGuard fully installed in the basement
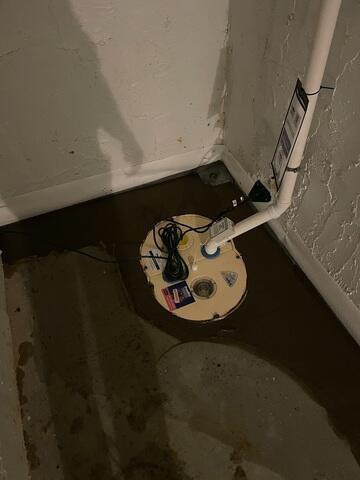
TripleSafe Sump Pump
TripleSafe sump pimp is installed to take the water from the WaterGuard and pimp it out of the basement
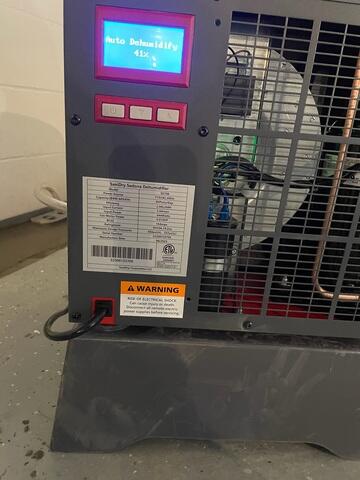
SaniDry Sedona
SaniDry Sedona dehumidifier installed
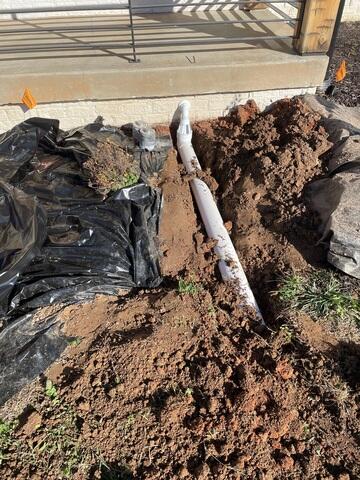
IceGuard Drainage System
Drainage system is installed to drain all water out away from the homes foundation