 4.9
4.9 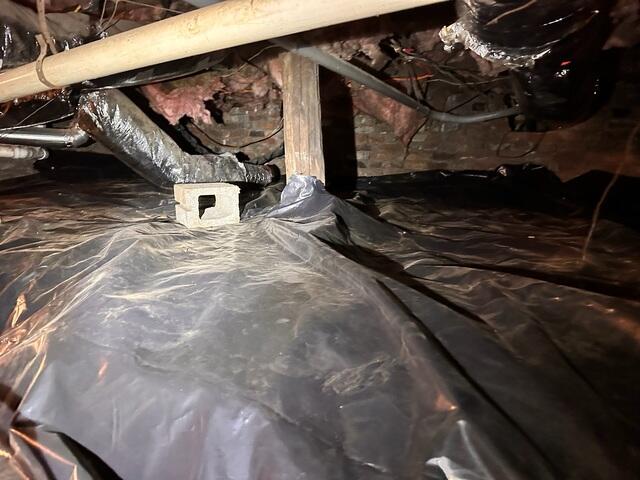
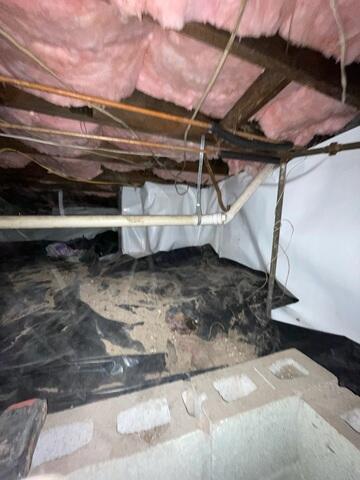
Crawl Space
The crawl space is adjacent to the basement, you can see obvious signs of moisture issues here with the dripping insulation.
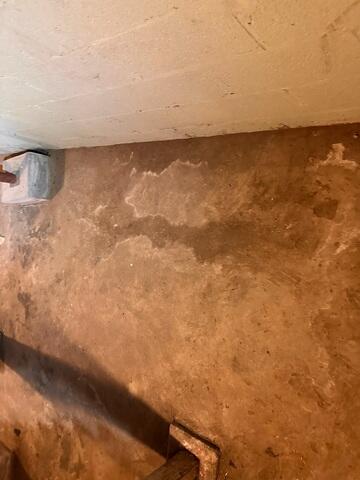
Water Damage
Obvious signs of water intrusion into the basement.
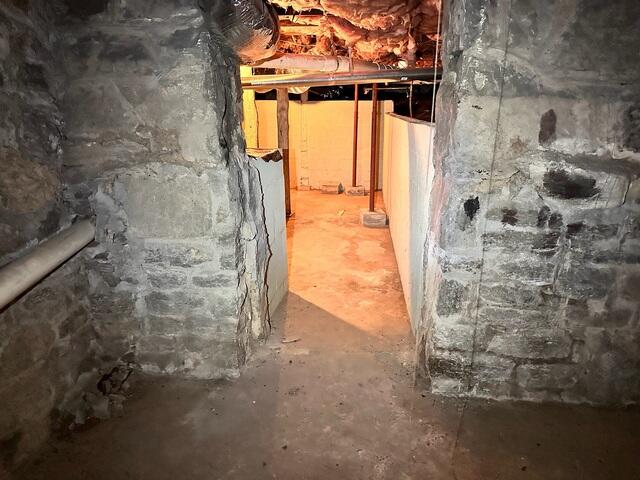
Basement Before
View of basement before the waterproofing process starts.
CleanSpace
Starting to add CleanSpace liner.
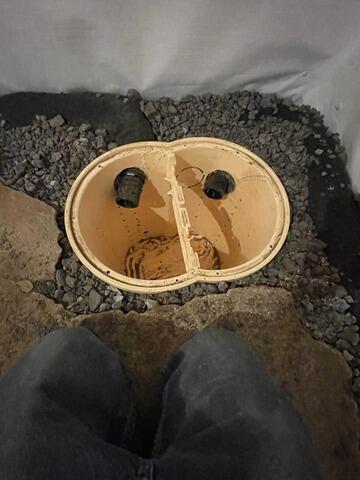
TripleSafe Install
Starting the installation of the TripleSafe sump pump.
Waterproofing Process
The TripleSafe is installed, the trench is dug for the WaterGuard to be installed, and the CleanSpace line has been installed on the walls.
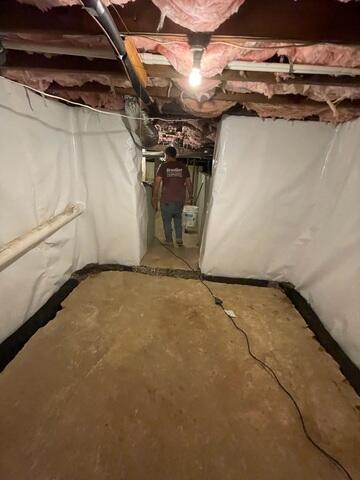
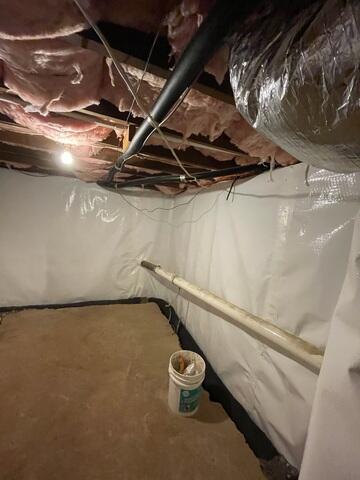
CleanSpace Installation
The CleanSpace has been installed on the walls.
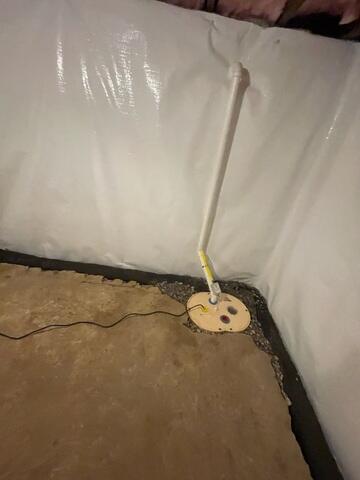
WaterGuard
WaterGuard installation complete.