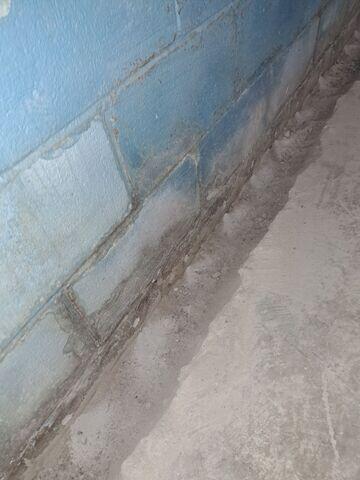
Before Project Begins
Basement before projects begins. You can see where water is seeping through the concrete clock onto the floor.
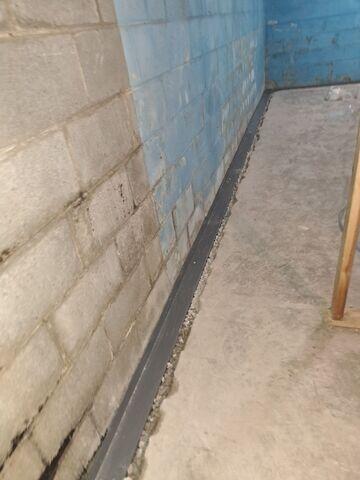
WaterGuard Drainage System
The WaterGuard drainage system is installed and surrounded by clean gravel before it is cemented over.
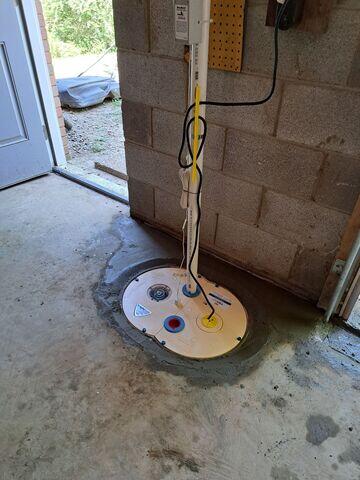
TripleSafe Sump Pump
The TripleSafe sump pump is installed, it will pump any water that gets in out of the basement through the drainage lines out into the yard.
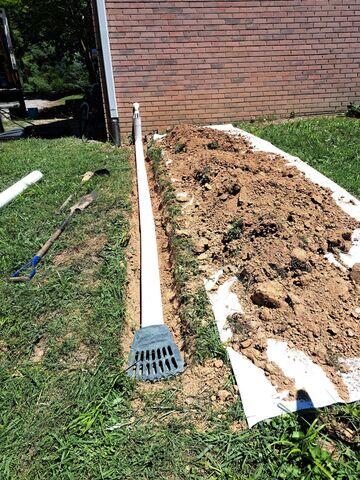
IceGuard and LawnScape
The Iceguard and LawnScape system is being installed. It will be buried and flush with the yard when finished.
Liner Added
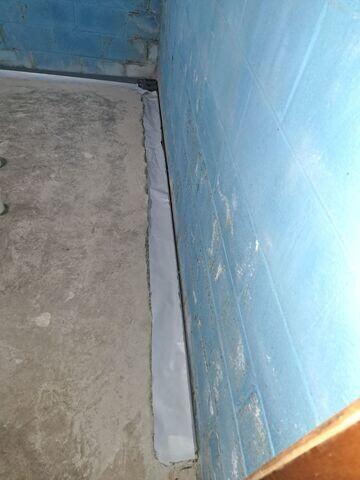
After the WaterGuard is installed, we add liner on top of it before sealing it with cement.
Excavation for Installation
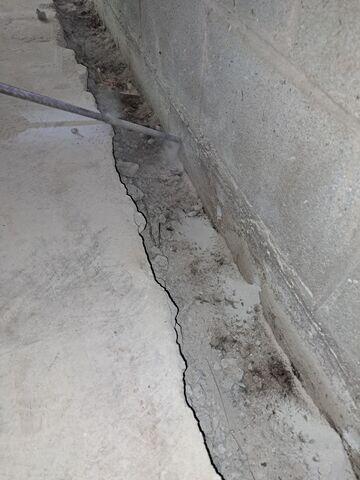
The area where the WaterGuard will be installed is excavated or dug out. This is along all permitter walls in the basement.
 4.9
4.9