 4.9
4.9 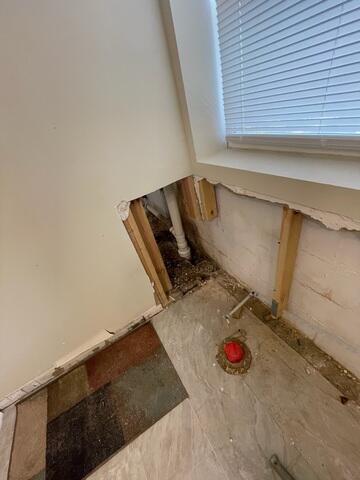
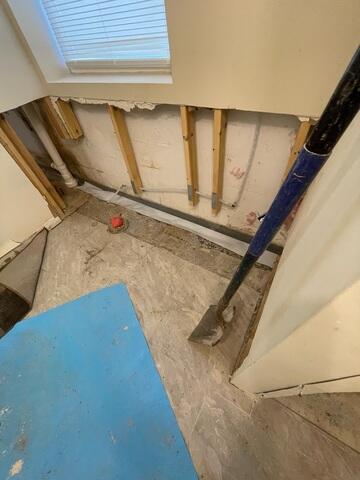
Excavation
The perimeter where the WaterGuard will be placed is excavated to make room for installation.
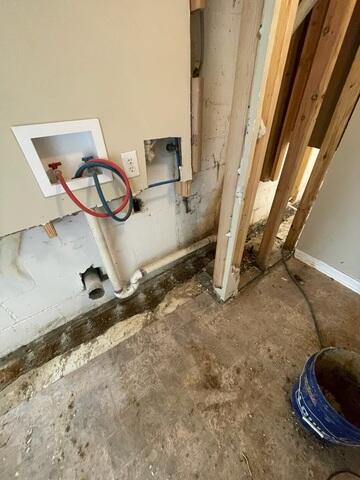
Weep Holes Drilled
Weep holes are drilled at the bottom of the blocks to drain the hollow cavities.
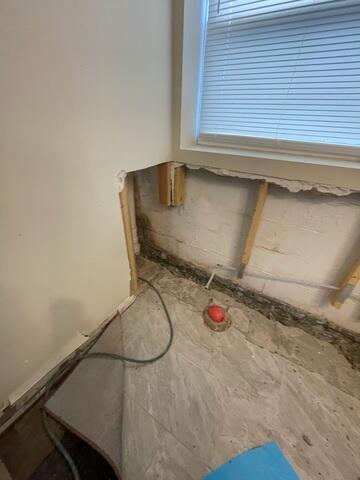
Installation Process
Unlike old-fashioned drain tile systems installed on the outside of the home, WaterGuard® is installed just underneath the perimeter edge of the basement floor.
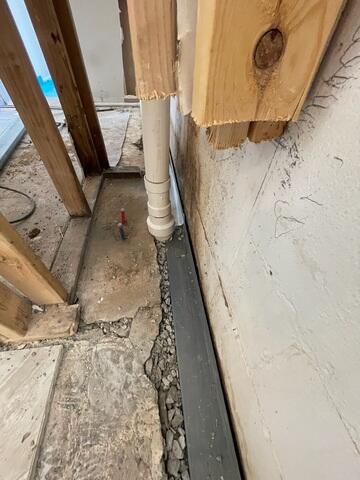
WaterGuard Placed
The WaterGuard includes wall flange with 3/8" opening to collect water from walls -- There's no gap on the basement floor to let humidity into the space or to collect debris.

Clean Gravel Placed
Clean gravel is placed around the WaterGuard system and the area around it is is cleaned up.
CleanSpace Liner
CleanSpace liner is placed over the WaterGuard for an added layer of protection.
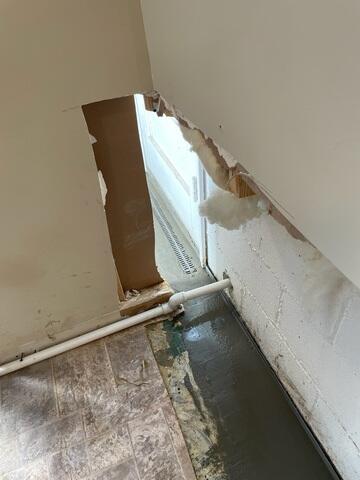
Trench Drain
A Trench Drain is installed under the window. These are used an any high areas of foot traffic or where extra amounts of water might come in.
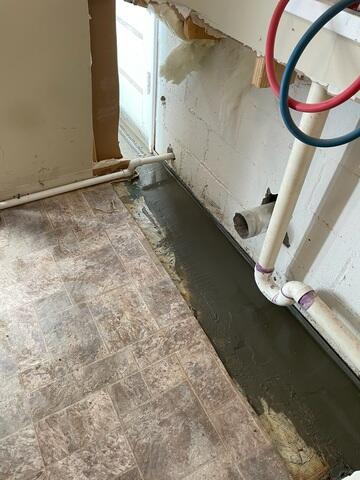
Last Step of WaterGuard Installation
The last part of the installation process is adding a thin layer of cement over the area. This seals everything in place.
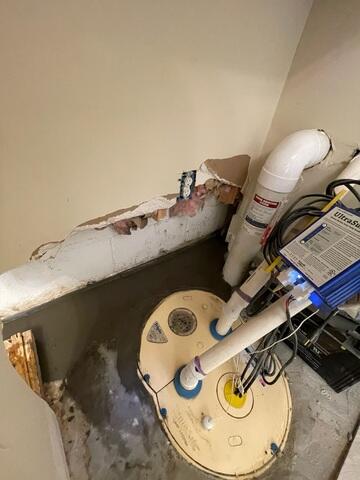
WaterGuard Around Sump Pump
The WaterGuard is installed behind the sump pump as well encompassing the entire perimeter.
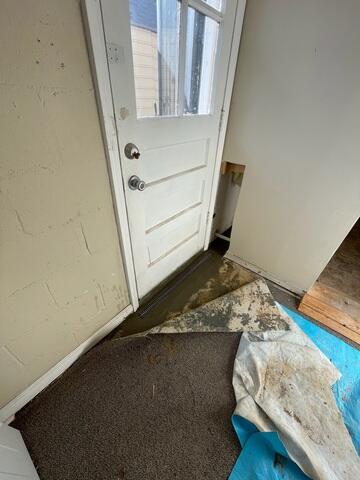
Doors and Entryways
Trench drains are used around all high foot traffic areas.