 4.9
4.9 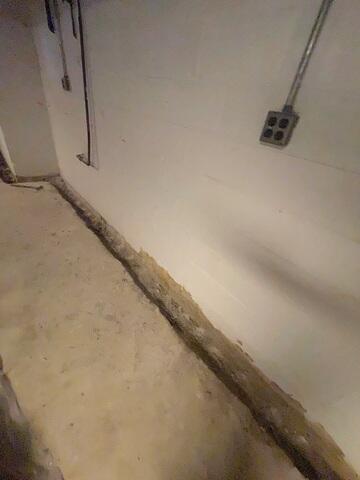
Trench Dug
A trench is dug in preparation for placing the WaterGuard subfloor drainage system.
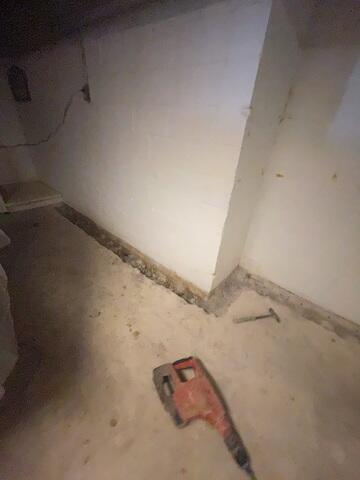
Weep Holes Drilled
Our WaterGuard system is able to waterproof concrete block foundation walls. Weep holes are drilled at the bottom of the blocks to drain the hollow cavities.
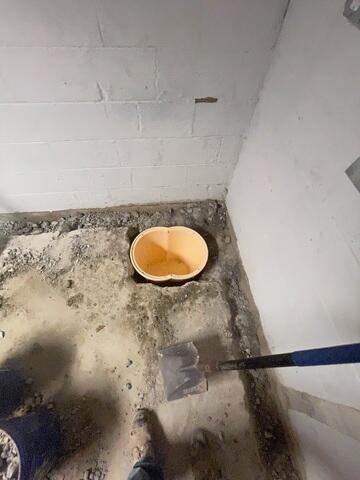
TripleSafe Sump Pump Installation
After the trench is dug, a hole is dug out as well to place the TripleSafe sump pump. This is done at the lowest point of the basement.
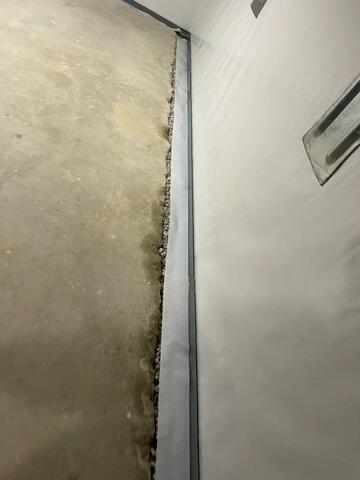
WaterGuard Installation Process
The WaterGuard is put in place, surrounded with clean gravel, and a thin layer of CleanSpace added on top.
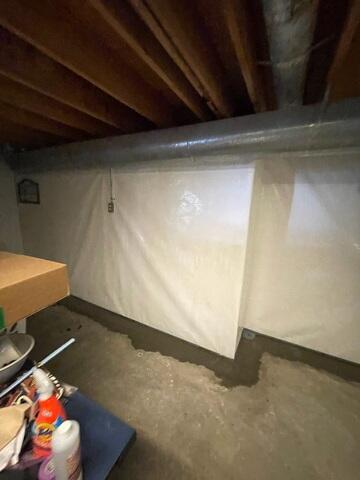
CleanSpace® vapor barrier
CleanSpace® Wall System, like our other wall systems, it can hold back water vapor passing through your foundation walls, directing it to your sump pump. With anti-microbial protection called UltraFresh built right in, no mold or mildew will grow on the CleanSpace!

TripleSafe Sump Pump
The installation of the TripleSafe sump pump is now complete. Our most reliable sump pump system, the TripleSafe™ Sump Pump System, provides three levels of protection for your basement and your peace of mind. For normal functioning, the TripleSafe™ has a powerful, cast-iron Zoeller® ⅓ horsepower sump pump set at the lowest level. For heavy volumes of water or in case of primary pump failure, a second, more powerful Zoeller® ½ hp pump set a bit higher in the liner will take over.
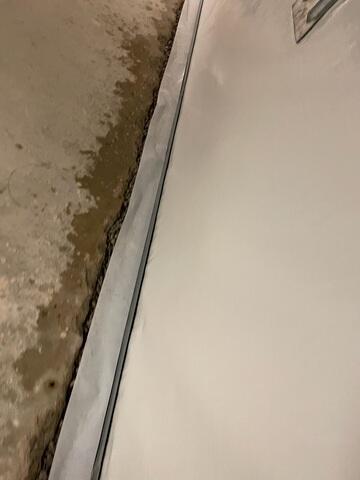
WaterGuard Installation Complete
After the waterGuard is in place, a thin layer of cement is added on top and now the installation is complete.
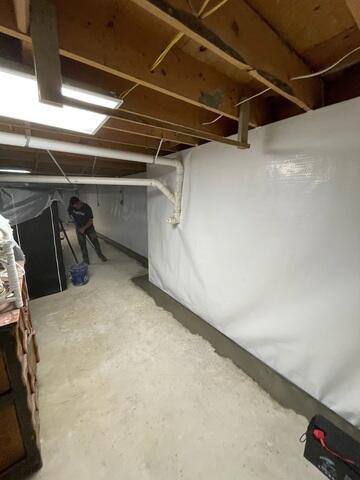
Basement Waterproofing Complete
The basement waterproofing system is now fully installed.
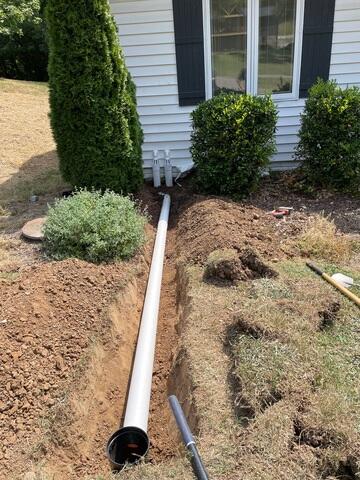
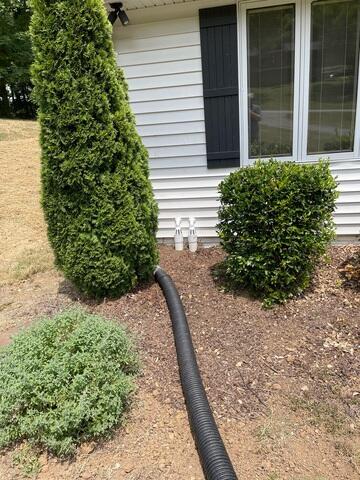
IceGuard and Lawnscape
Water escapes from the IceGuard® fitting only when the discharge line becomes clogged. Otherwise, water flows past the slotted openings into the drain pipe. LawnScape™ is a pipe buried from the downspout to a special LawnScape™ outlet that lets the water out onto the surface while camouflaging the end of the pipe. The lid comes off for easy cleaning. LawnScape™ is best used for downspout extensions over 8' long.
Project Complete
Once the IceGuard and Lawnscape are installed the pipe is buried. Now this project is complete.