 4.9
4.9 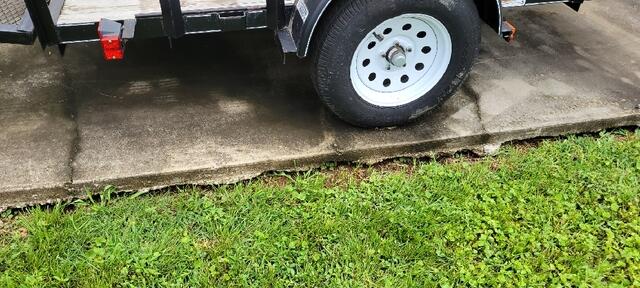
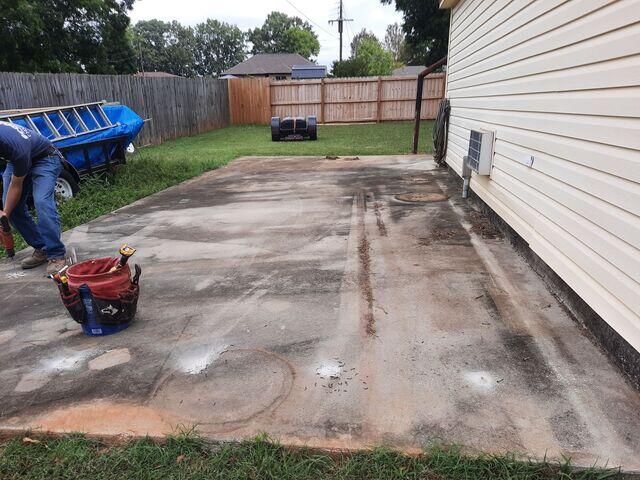
Before Work Begins
Cracking and soil washout visible before project starts
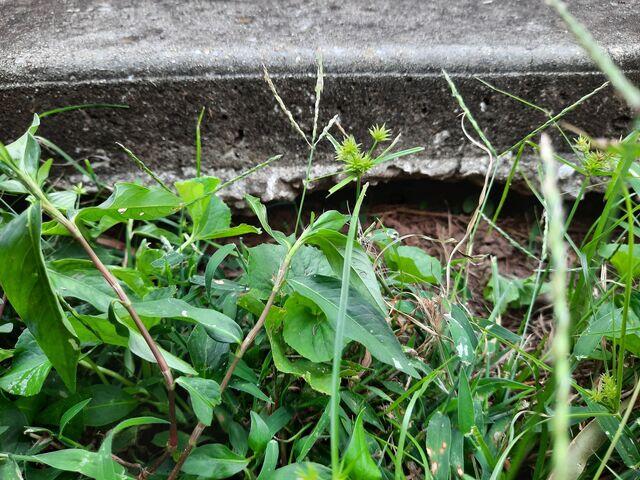
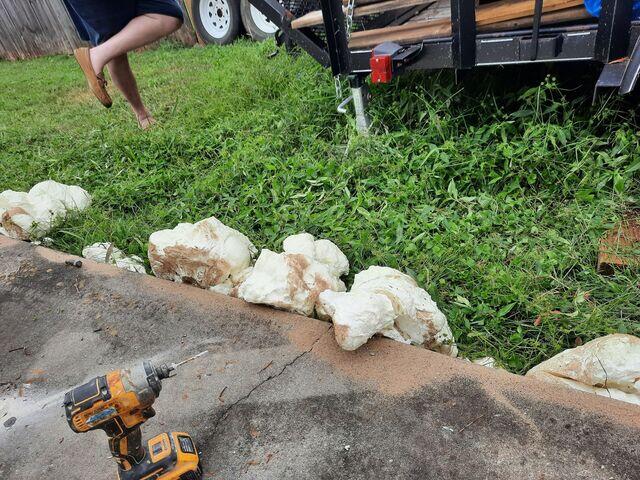
Visible Soil Void
You can see in this photo, the space in between the slab and the dirt underneath
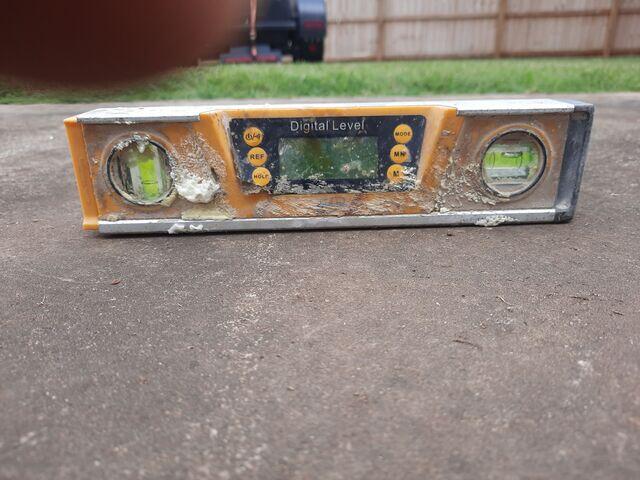
Checking Level
Checking the level of the concrete to determine how much PolyLevel will be needed
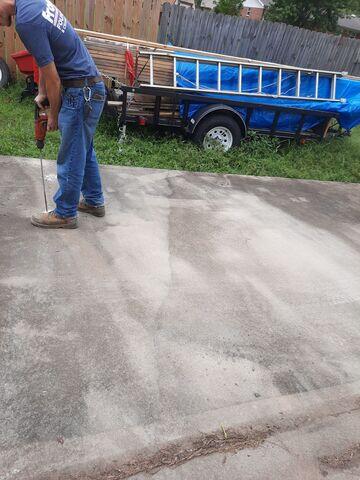
Drilling Holes
Drilling holes before injecting the PolyLevel
Preparation for PolyLevel
More holes will be drilled at injection sites on slab
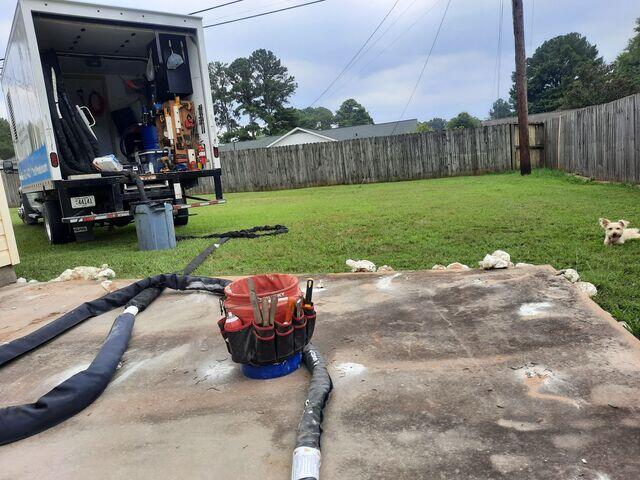
Injecting PolyLevel
Injecting the PolyLevel into the predrilled holes on the concrete slab to fill the soils voids underneath
PolyLevel
PolyLevel injected to fill voids underneath concrete to lift it back up
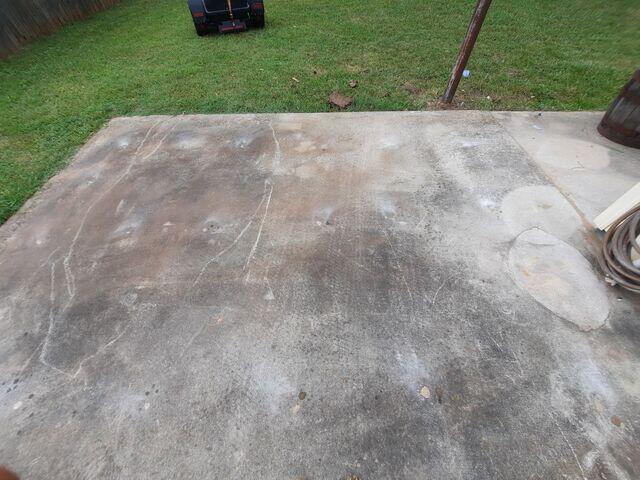
Cracks Sealed and Concrete Lifted
Project Complete