 4.9
4.9 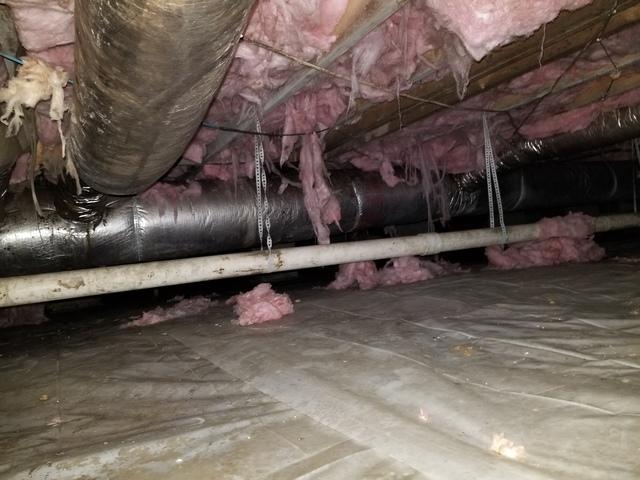
Before Photo
This is what the crawl space looked like before our crew went in there and got everything cleaned out.
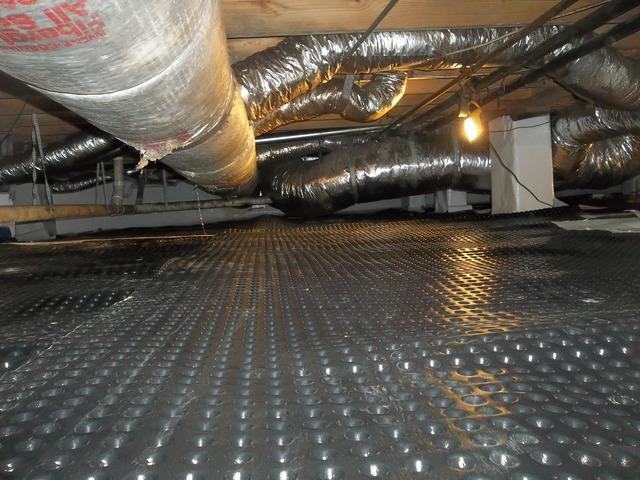
Drainage Matting
After everything is cleaned out the next step is laying drainage matting. Drainage matting is designed to allow water and moisture to flow freely underneath the vapor barrier.
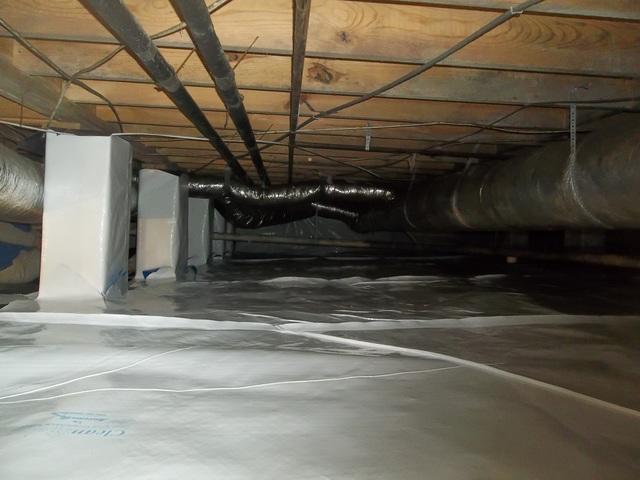
CleanSpace
The Final step is CleanSpace which is a 20-mil thick vapor barrier designed to keep water and moisture out of a crawl space.