Before Project Starts
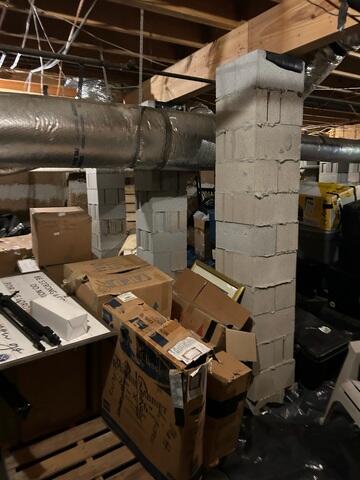
Crawl space during inspection before the project starts.
Moisture Readings
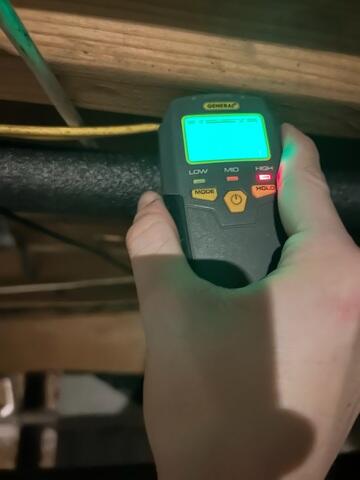
Taking moisture readings directly in the wood floor joists.
Moisture Levels
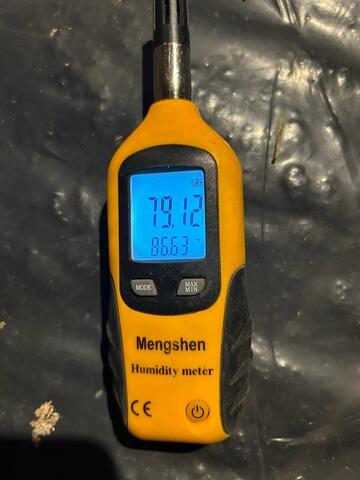
Taking moisture level reading inside the crawl space. This level of moisture is to high and the perfect breeding ground for mold and wood rot and decay.
Debris Removal
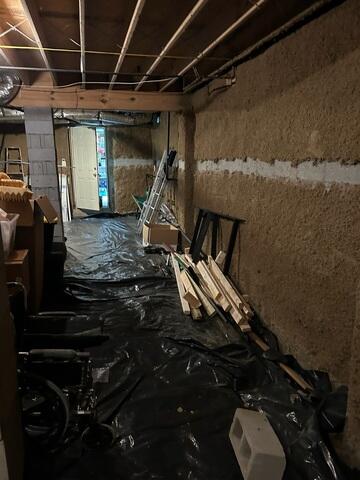
Crawl space before our project begins. All of these items will be removed and any debris like this failing vapor barrier will be taken out and hauled away before we start the encapsulation of the crawl space.
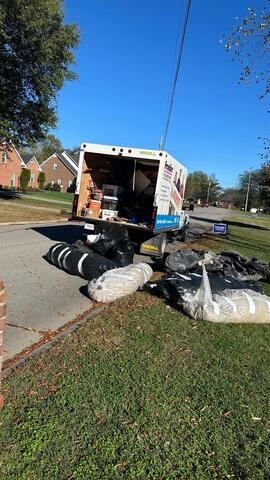
Debris Removal Complete
This is all the debris we removed from this crawl space before starting the encapsulation process.
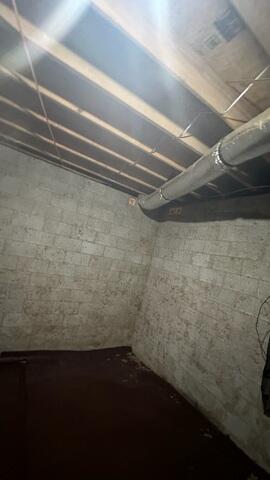
Drainage Matting
Drainage matting is added to the floor of the crawl space. This dimpled plastic sheet material promotes good drainage over the entire crawl space floor.
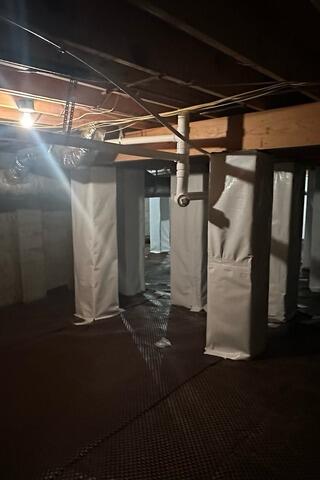
Wrapping Piers
After the drainage matting is installed, we wrap all of the support piers with our CleanSpace liner.
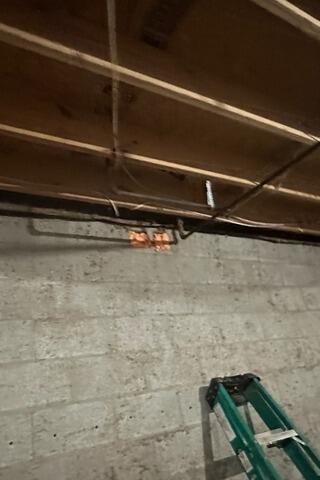
Vents Sealed
The vents are sealed with SilverGlo panels and spray foam insulation to ensure no outside air is coming into the crawl space.
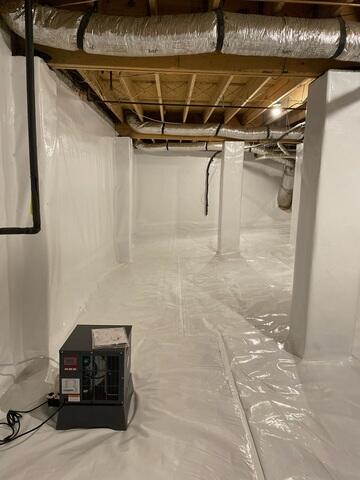
SaniDry Sedona
The SaniDry Sedona offers giant performance in a small package. The Sedona easily fits in small crawl spaces, yet has a powerful blower to effectively dry large crawl spaces. Mold and mildew are common in crawl spaces, but the Sedona keeps the relative humidity below 55%, so mold won't stand a chance. As a high-efficiency dehumidifier, the Sedona removes more moisture (100 pints per day) for less electricity cost than conventional models.
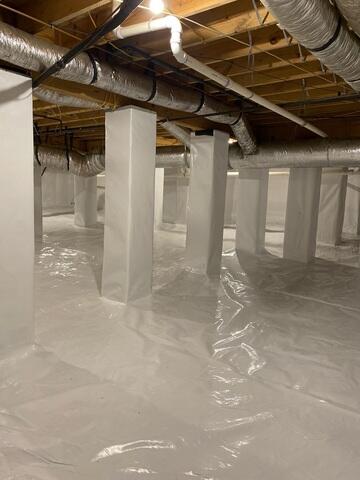
CleanSpace Installed
One of the key ingredients in our encapsulation system is the CleanSpace® vapor barrier, a super-durable, 20mil plastic sheet material designed to permanently prevent moisture, outside air and pests from getting into your crawl space.
 4.9
4.9